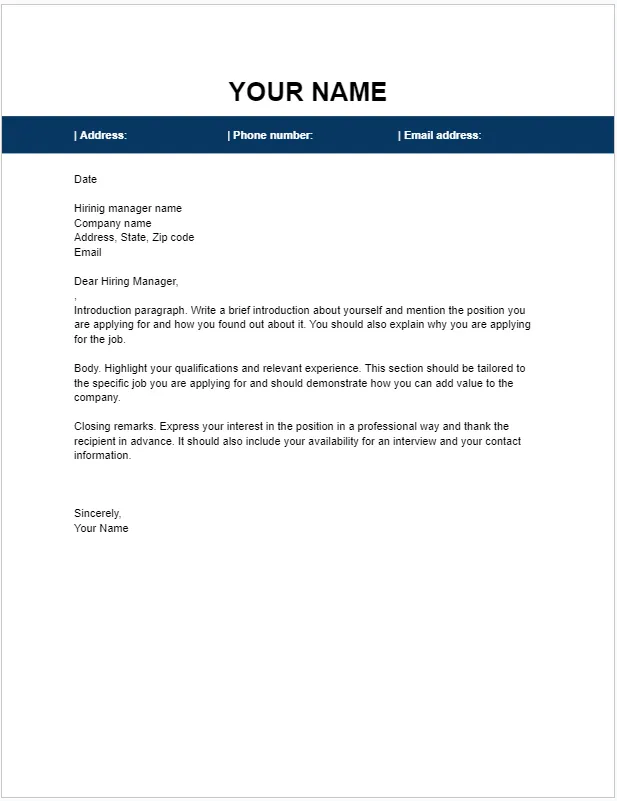
Why Use Google Docs for Your Cover Letter
In the competitive job market, a well-crafted cover letter is essential. It’s your first impression on potential employers, showcasing your personality, skills, and enthusiasm. Choosing the right tool to create this important document can make all the difference. Google Docs, a versatile word processing platform, provides numerous advantages for crafting compelling cover letters. Its user-friendly interface, accessibility, and collaborative features make it an excellent choice for job seekers of all levels. This guide will walk you through the process of creating a professional and effective cover letter using Google Docs, ensuring you make a strong first impression on potential employers and increase your chances of landing your dream job.
Ease of Access and Collaboration
One of the primary benefits of Google Docs is its accessibility. As a cloud-based platform, you can access your cover letter from any device with an internet connection, whether it’s your laptop, tablet, or smartphone. This flexibility allows you to work on your cover letter anytime, anywhere. Furthermore, Google Docs facilitates seamless collaboration. You can easily share your document with others, such as career counselors, mentors, or friends, to get feedback and suggestions. The real-time collaboration feature enables multiple users to work on the document simultaneously, making the editing process efficient and effective. This is particularly useful when refining your cover letter to perfection. The ability to comment and suggest changes ensures a collaborative approach that improves the final product.
Free and Accessible Features
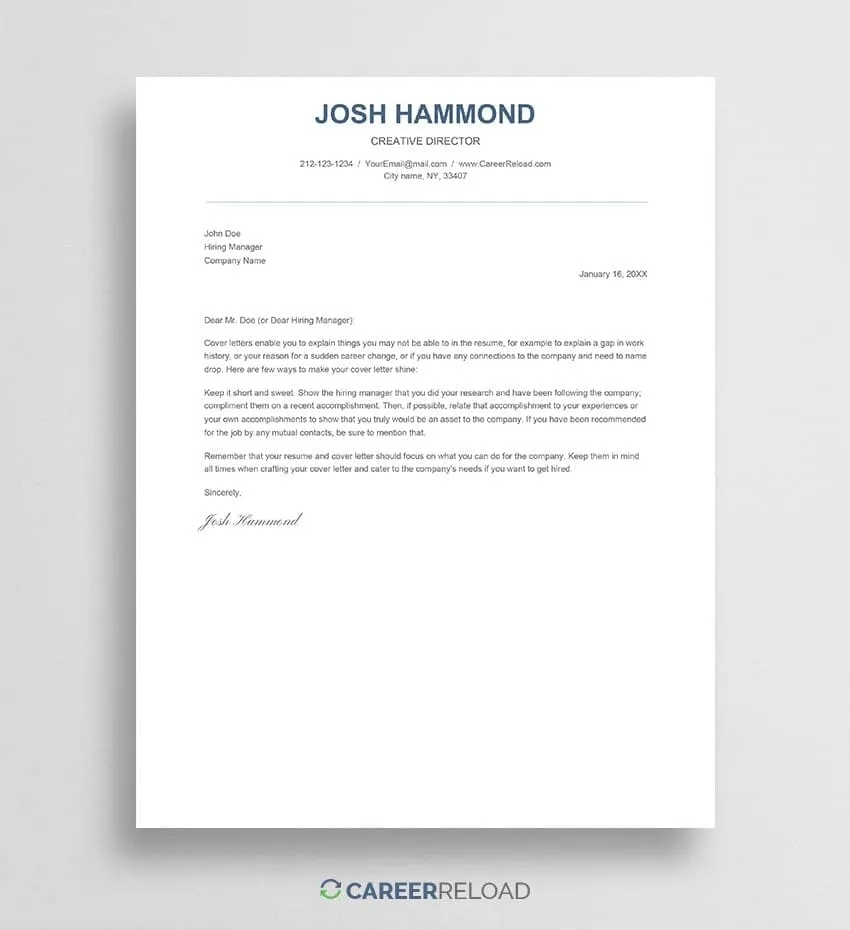
Google Docs is entirely free to use, making it an accessible option for job seekers on a budget. You don’t need to invest in expensive software, and all the essential tools for cover letter creation are readily available. It provides a wide array of features, including various fonts, formatting options, and templates to help you design a professional-looking cover letter. The platform’s intuitive interface makes it easy to navigate and utilize these features, even if you’re new to writing cover letters or using word processing software. This accessibility allows you to focus on the content of your cover letter rather than the technical aspects of creating it, ensuring you can craft a document that truly reflects your skills and experience without any financial burden.
Step 1 Open Google Docs and Choose a Template
Getting started with your cover letter in Google Docs is straightforward. The first step involves opening the application and selecting a suitable template to begin with. This initial setup lays the groundwork for a professional and well-structured document, saving you time and ensuring a polished final product. Utilizing a template is highly recommended, particularly if you’re new to writing cover letters or want to ensure a consistent format.
Accessing the Template Gallery
To access the template gallery, start by going to the Google Docs website. Log in to your Google account and click on the “Template gallery” option located at the top of the page. This will open a selection of pre-designed templates, including several cover letter options. The template gallery offers a convenient starting point, especially for those unfamiliar with cover letter formatting. Exploring the available templates allows you to choose one that best suits your needs and the type of job you are applying for, ensuring your cover letter is well-organized and visually appealing. You can also start with a blank document and customize it to your liking, but using a template saves you time and effort.
Selecting a Cover Letter Template
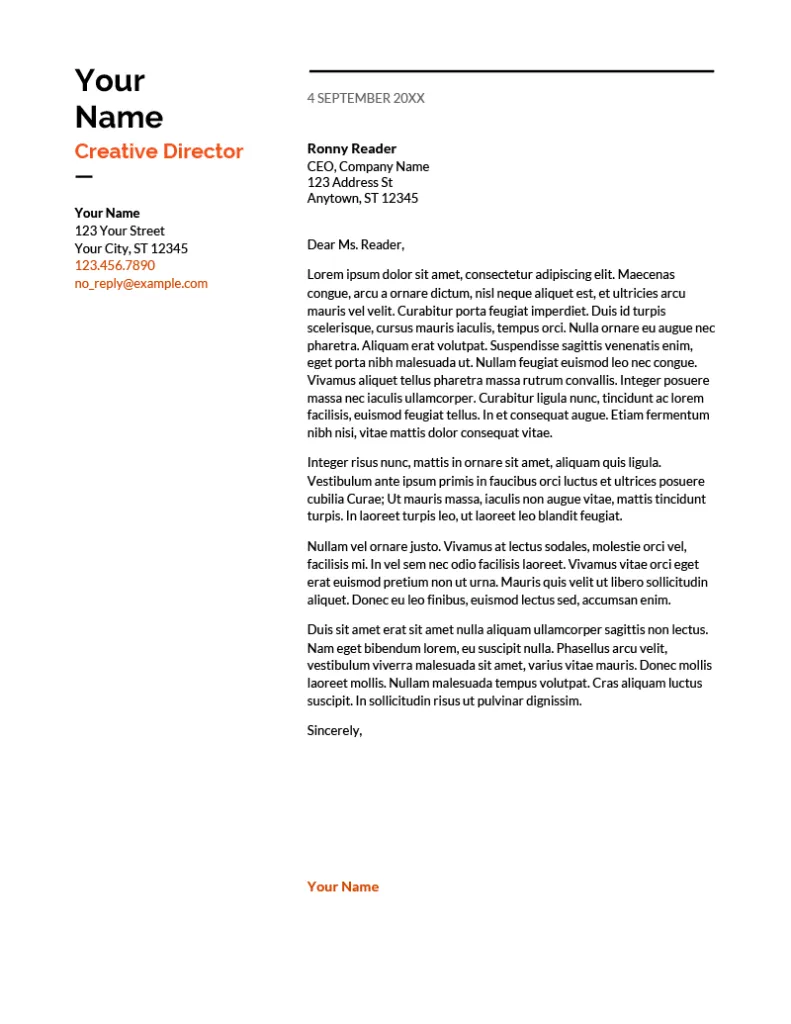
Once in the template gallery, scroll through the available options to find a cover letter template that aligns with your preferences and the requirements of the job. Consider factors such as the design, layout, and overall style of the template. Choose a template that is clean, easy to read, and professional-looking. Some templates offer a more modern design, while others are more traditional. Select the one that best represents your personal brand and suits the industry you are applying to. Upon selecting a template, it will automatically open in a new document, ready for you to start customizing your information. This step significantly streamlines the cover letter creation process, providing a solid foundation upon which to build your compelling narrative.
Step 2 Customize Your Cover Letter
After selecting a template, the next critical step is to personalize your cover letter. Customization ensures your letter is unique and tailored to the specific job and company. This process includes updating your header information, adding your personal details, and crafting the body content to highlight your skills, experience, and enthusiasm for the role. By personalizing the document, you demonstrate a genuine interest in the position and show that you’ve taken the time to tailor your application to the specific requirements. This attention to detail significantly increases your chances of making a positive impression on the hiring manager.
Personalizing the Header
Begin by updating the header of your cover letter. Include your full name, contact information (phone number and email address), and the current date. Below this, add the recipient’s information, which typically includes the hiring manager’s name, title, and the company’s address. Ensure all details are accurate and up-to-date. The header is essential as it provides the necessary information for the recruiter to contact you, and it also establishes a professional tone. Take care to format the header neatly, with clear spacing and alignment, so that it presents a polished and organized appearance. Double-check all the information to avoid any errors that could detract from your application.
Body Content Key Sections
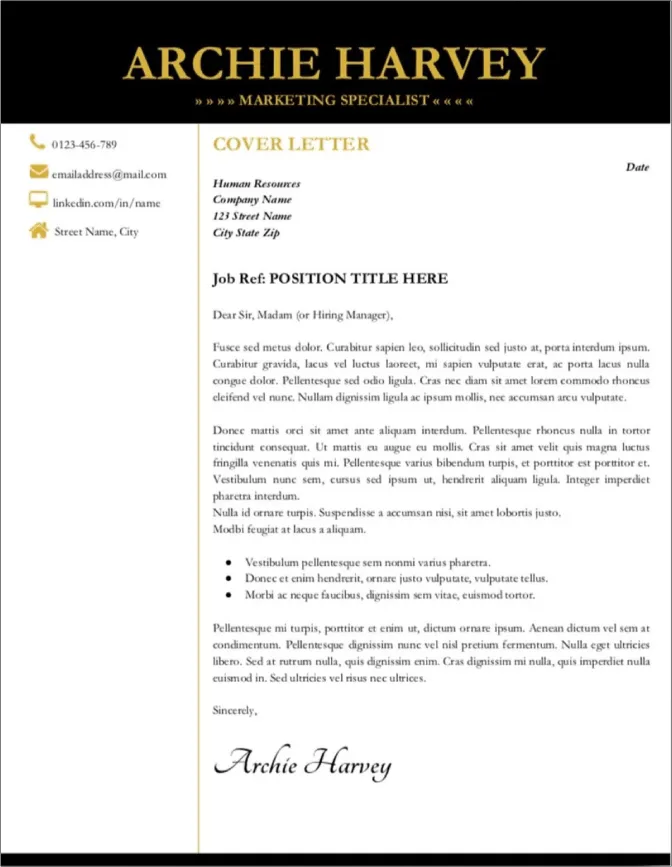
The body of your cover letter is where you highlight your skills, experience, and enthusiasm. Start with a compelling opening paragraph that grabs the reader’s attention. In the subsequent paragraphs, discuss your relevant experience, skills, and achievements, providing specific examples to demonstrate your capabilities. Tailor the content to match the job requirements, emphasizing how your skills align with the needs of the company. Clearly articulate why you are interested in the role and the company. Conclude with a strong closing paragraph reiterating your interest and inviting the reader to contact you. The body content should be well-structured, concise, and free of grammatical errors. Ensure each paragraph flows logically into the next, creating a coherent and persuasive narrative that encourages the reader to learn more about you.
Step 3 Formatting and Style Tips
Proper formatting and style are critical to making your cover letter professional and readable. This section covers selecting appropriate fonts, setting margins, and ensuring clear spacing. Attention to these details improves the overall presentation and ensures that your cover letter is easy for the hiring manager to read and review.
Font Selection and Readability
Choosing the right font is essential for readability and professionalism. Select a standard, easy-to-read font such as Arial, Times New Roman, Calibri, or Georgia. Stick to a font size between 10 and 12 points. Avoid using overly decorative or unusual fonts, as they can distract from the content. Consistency is key; use the same font throughout the entire document. Ensure that your chosen font is clear and legible, both on screen and when printed. The goal is to make the cover letter easy to read at a glance. This will help you make a great impression and show that you care about the overall presentation of your work.
Margins and Spacing for Professionalism
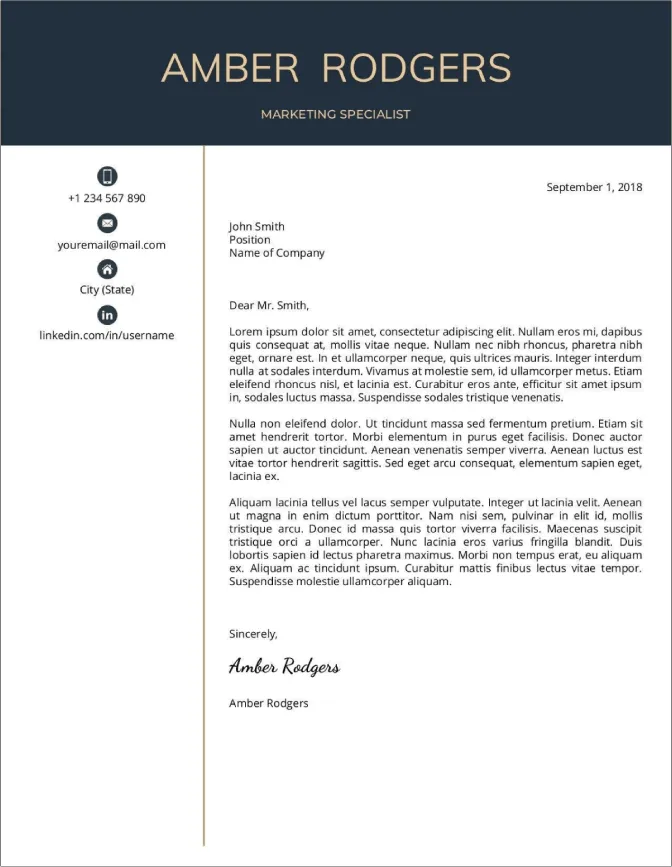
Set your margins to one inch on all sides to maintain a clean and professional look. Use single spacing within paragraphs and double spacing between paragraphs. These settings provide enough white space, making the document easy on the eyes. Proper spacing also helps to prevent the cover letter from appearing cluttered or cramped. Ensure consistent alignment, usually left-aligned for the body of the letter and right-aligned for the header. Adhering to these formatting guidelines demonstrates attention to detail and professionalism, which are important qualities that employers look for in candidates. This meticulous approach enhances the overall presentation of your cover letter, making it more appealing and easier to read.
Step 4 Saving, Downloading, and Sharing
Once you’ve completed your cover letter, the final step involves saving, downloading, and sharing the document. This ensures your cover letter is ready for submission and can be easily accessed by potential employers. Taking care with this step is just as important as creating the content itself. It guarantees that your hard work is presented professionally and efficiently.
Saving as a PDF
Always save your cover letter as a PDF (Portable Document Format). This ensures your formatting remains consistent across different devices and operating systems. To save your document as a PDF in Google Docs, go to “File,” select “Download,” and then choose “PDF Document (.pdf).” PDFs maintain the formatting and prevent any unintentional changes. This is crucial because different word processors can render documents differently, which could cause issues with alignment, spacing, and font appearance. Additionally, PDFs are harder to edit, protecting your document from unauthorized alterations. Saving your cover letter as a PDF ensures that your document is presented exactly as you intended, offering a professional presentation to the hiring manager.
Sharing Options and Collaboration
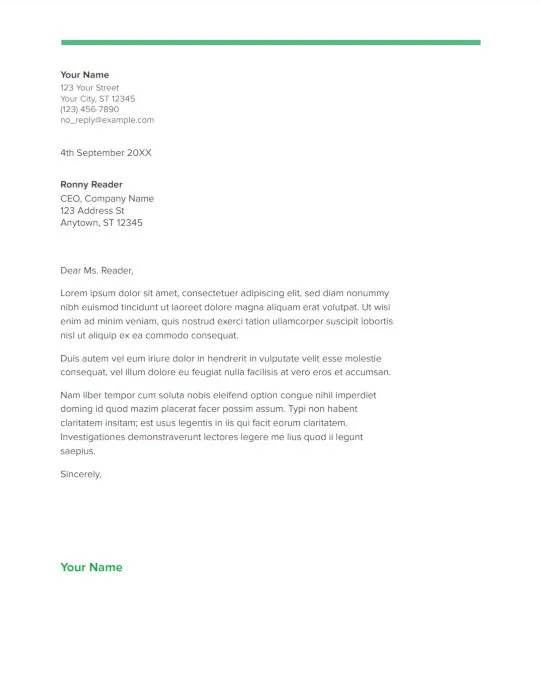
Google Docs provides several sharing options. You can share the document directly from Google Drive, allowing you to invite others to view, comment, or edit the document. This is an excellent way to get feedback from mentors or career counselors. For sharing, click the “Share” button in the top right corner and enter the email addresses of the people you want to collaborate with. Choose the appropriate permissions (view, comment, or edit) based on your needs. You can also share a link to the document or download it and send it via email. Always ensure you have reviewed the document carefully before sharing it, correcting any errors and ensuring the formatting is correct. Sharing options allow you to streamline your application process and get a polished final product.
